I am glad to say my seven year old has been running around my house saying that she is Elsa. Since the movie was created and premiered in the cinemas my girls have be in love with it. They have been singing Let it Go everyday and have watched the movie so many times that they know all the words.


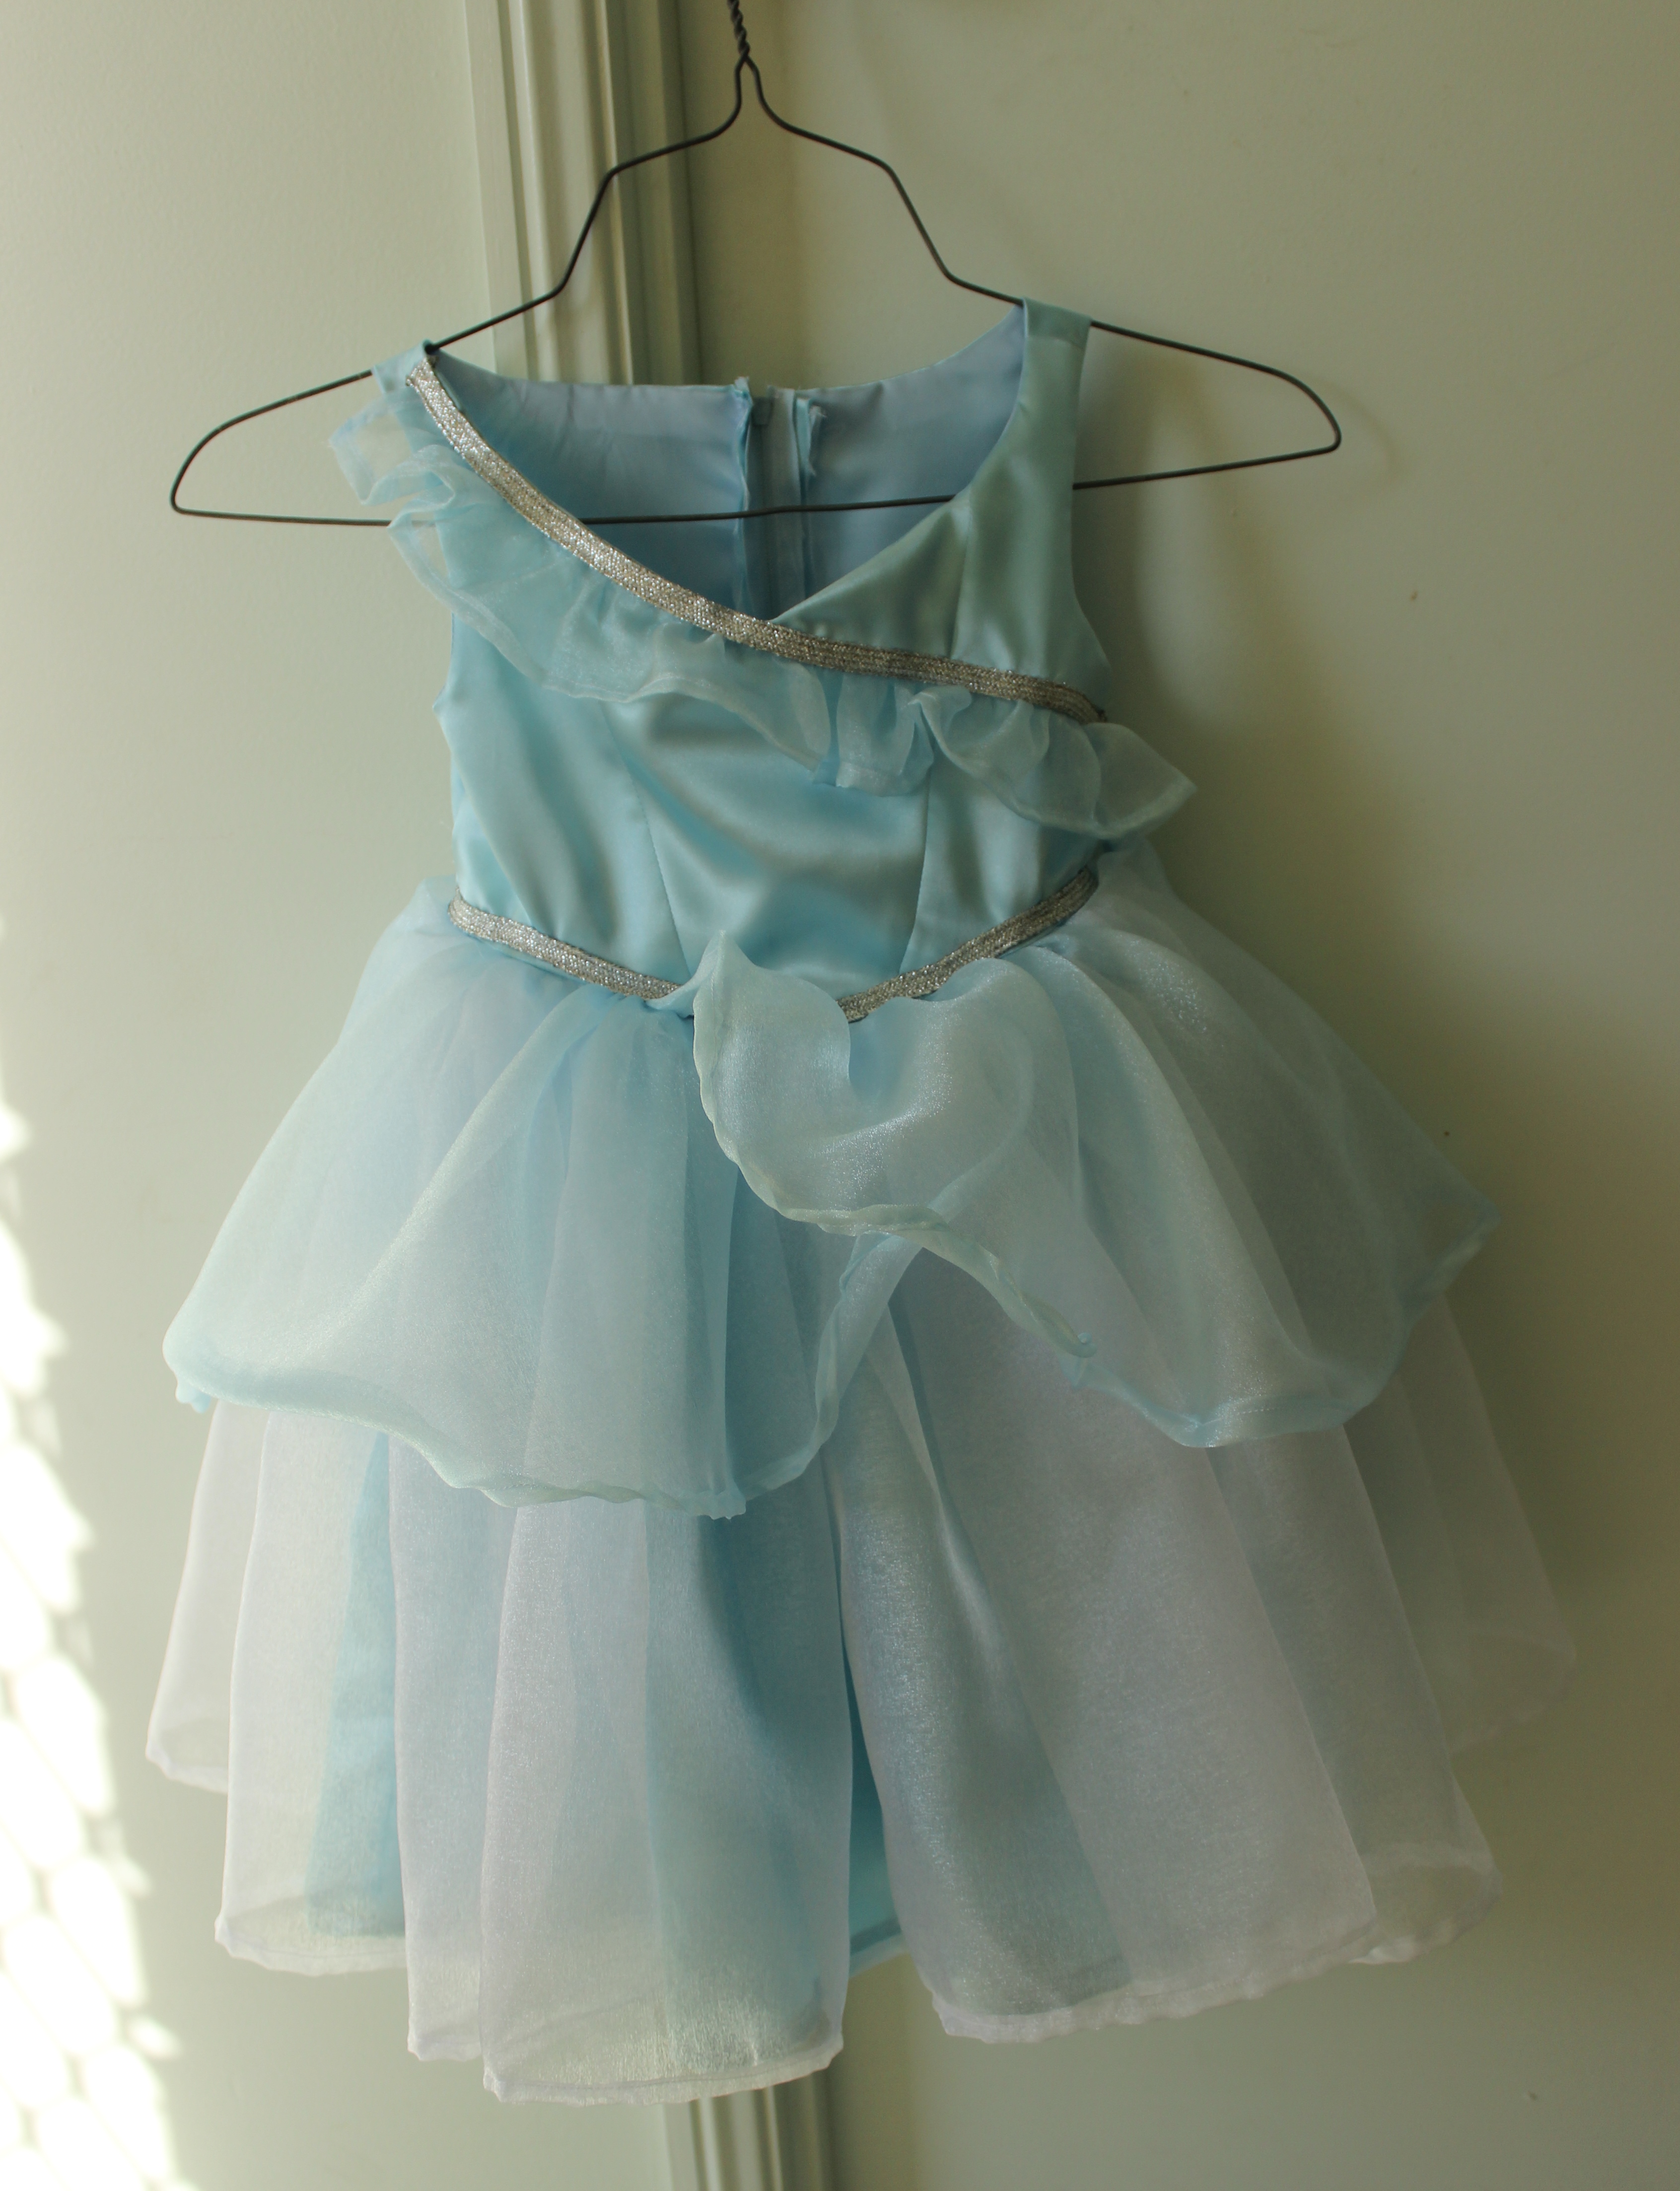
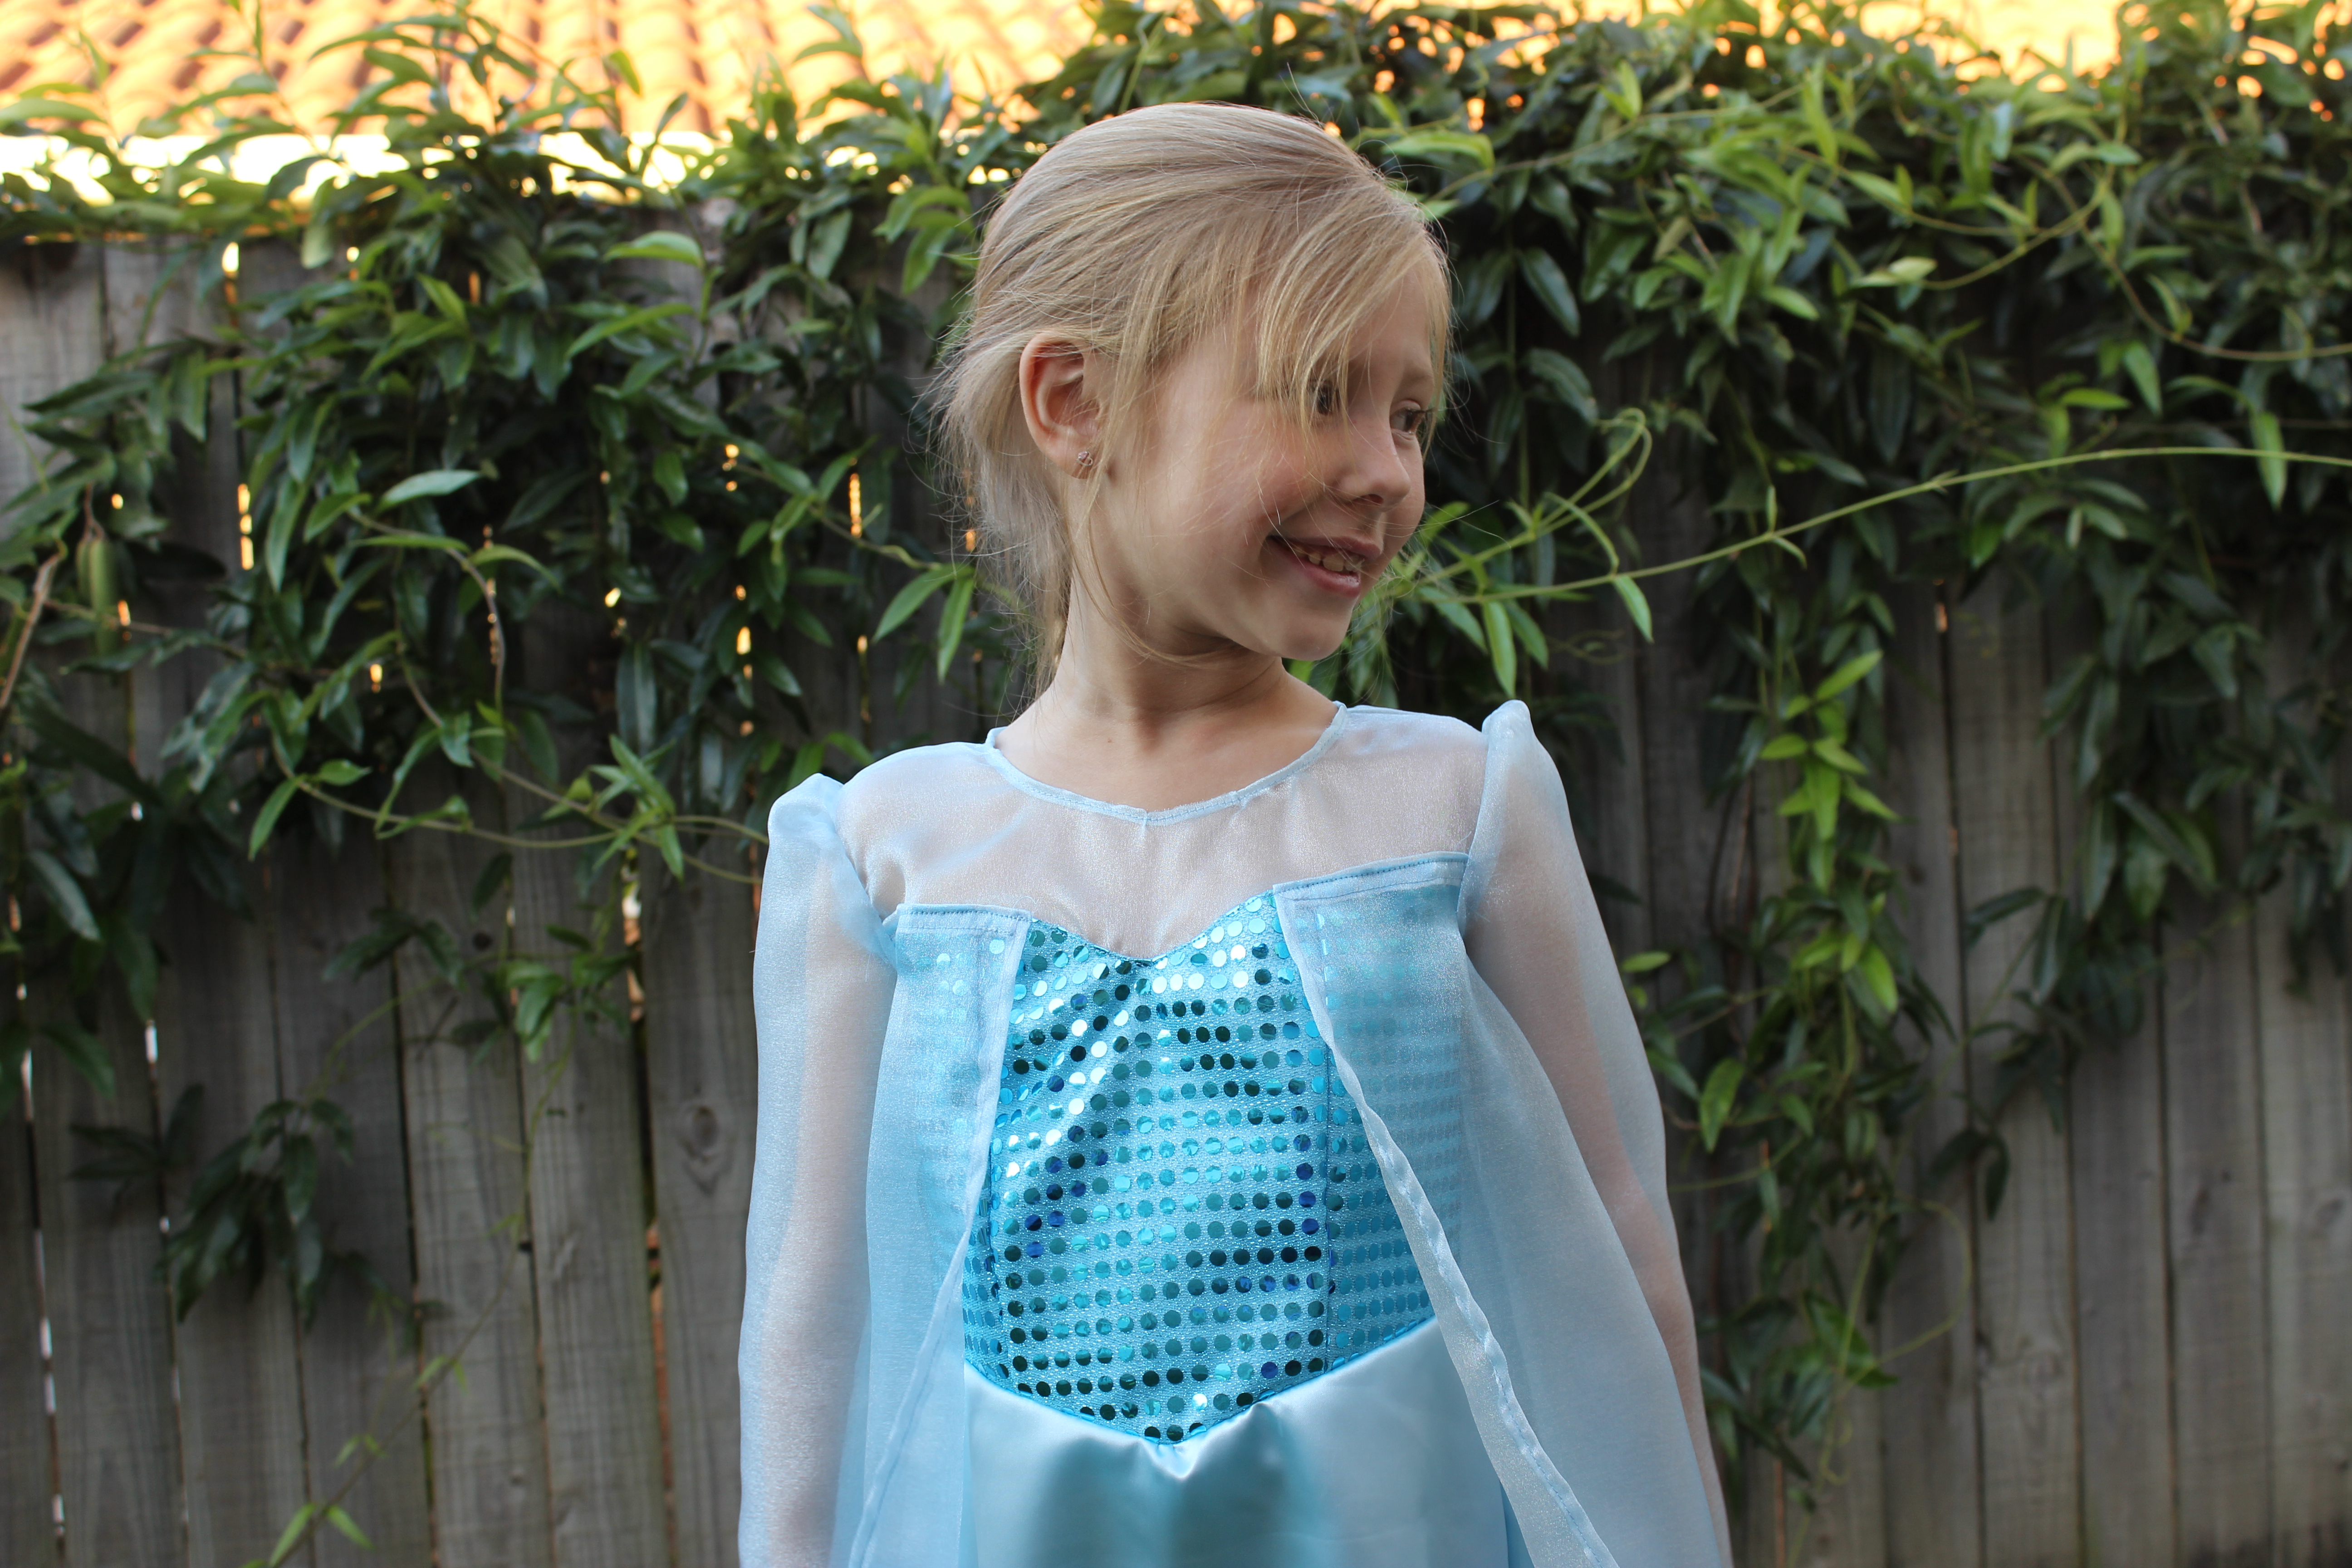
Frozen McCalls M7000 Elsa Bodice Close up
My girls absolutely love the frozen movie and are always bugging me for costumes. Jess has been asking for an Elsa dress for many months. The McCalls pattern M7000 I would say is an unofficial Elsa and Anna dress, meaning that it doesn’t seem to have a Disney stamp of approval like some of the Simplicity patterns have, who have countless patterns saying Disney on them. But this doesn’t matter to a seven year old so I bought the pattern and the fabric and started sewing.
The Dress:
For this dress I made up a size 5-6. I bought a light blue satin, light blue crystal organza and an aqua sequin fabric. I also purchased a light blue glitter fabric paint and an all glitter fabric paint with a couple of paint brushes for the snowflakes.
I made up the bodice first with some cheap cotton fabric to see how loose it would be on her. So I made a size 5-6 and but then had to take it in at the seam allowances to fit her. I had to take it in by a couple of inches before I got a nice fit then I started to make the bodice.

Frozen McCalls M7000 Elsa
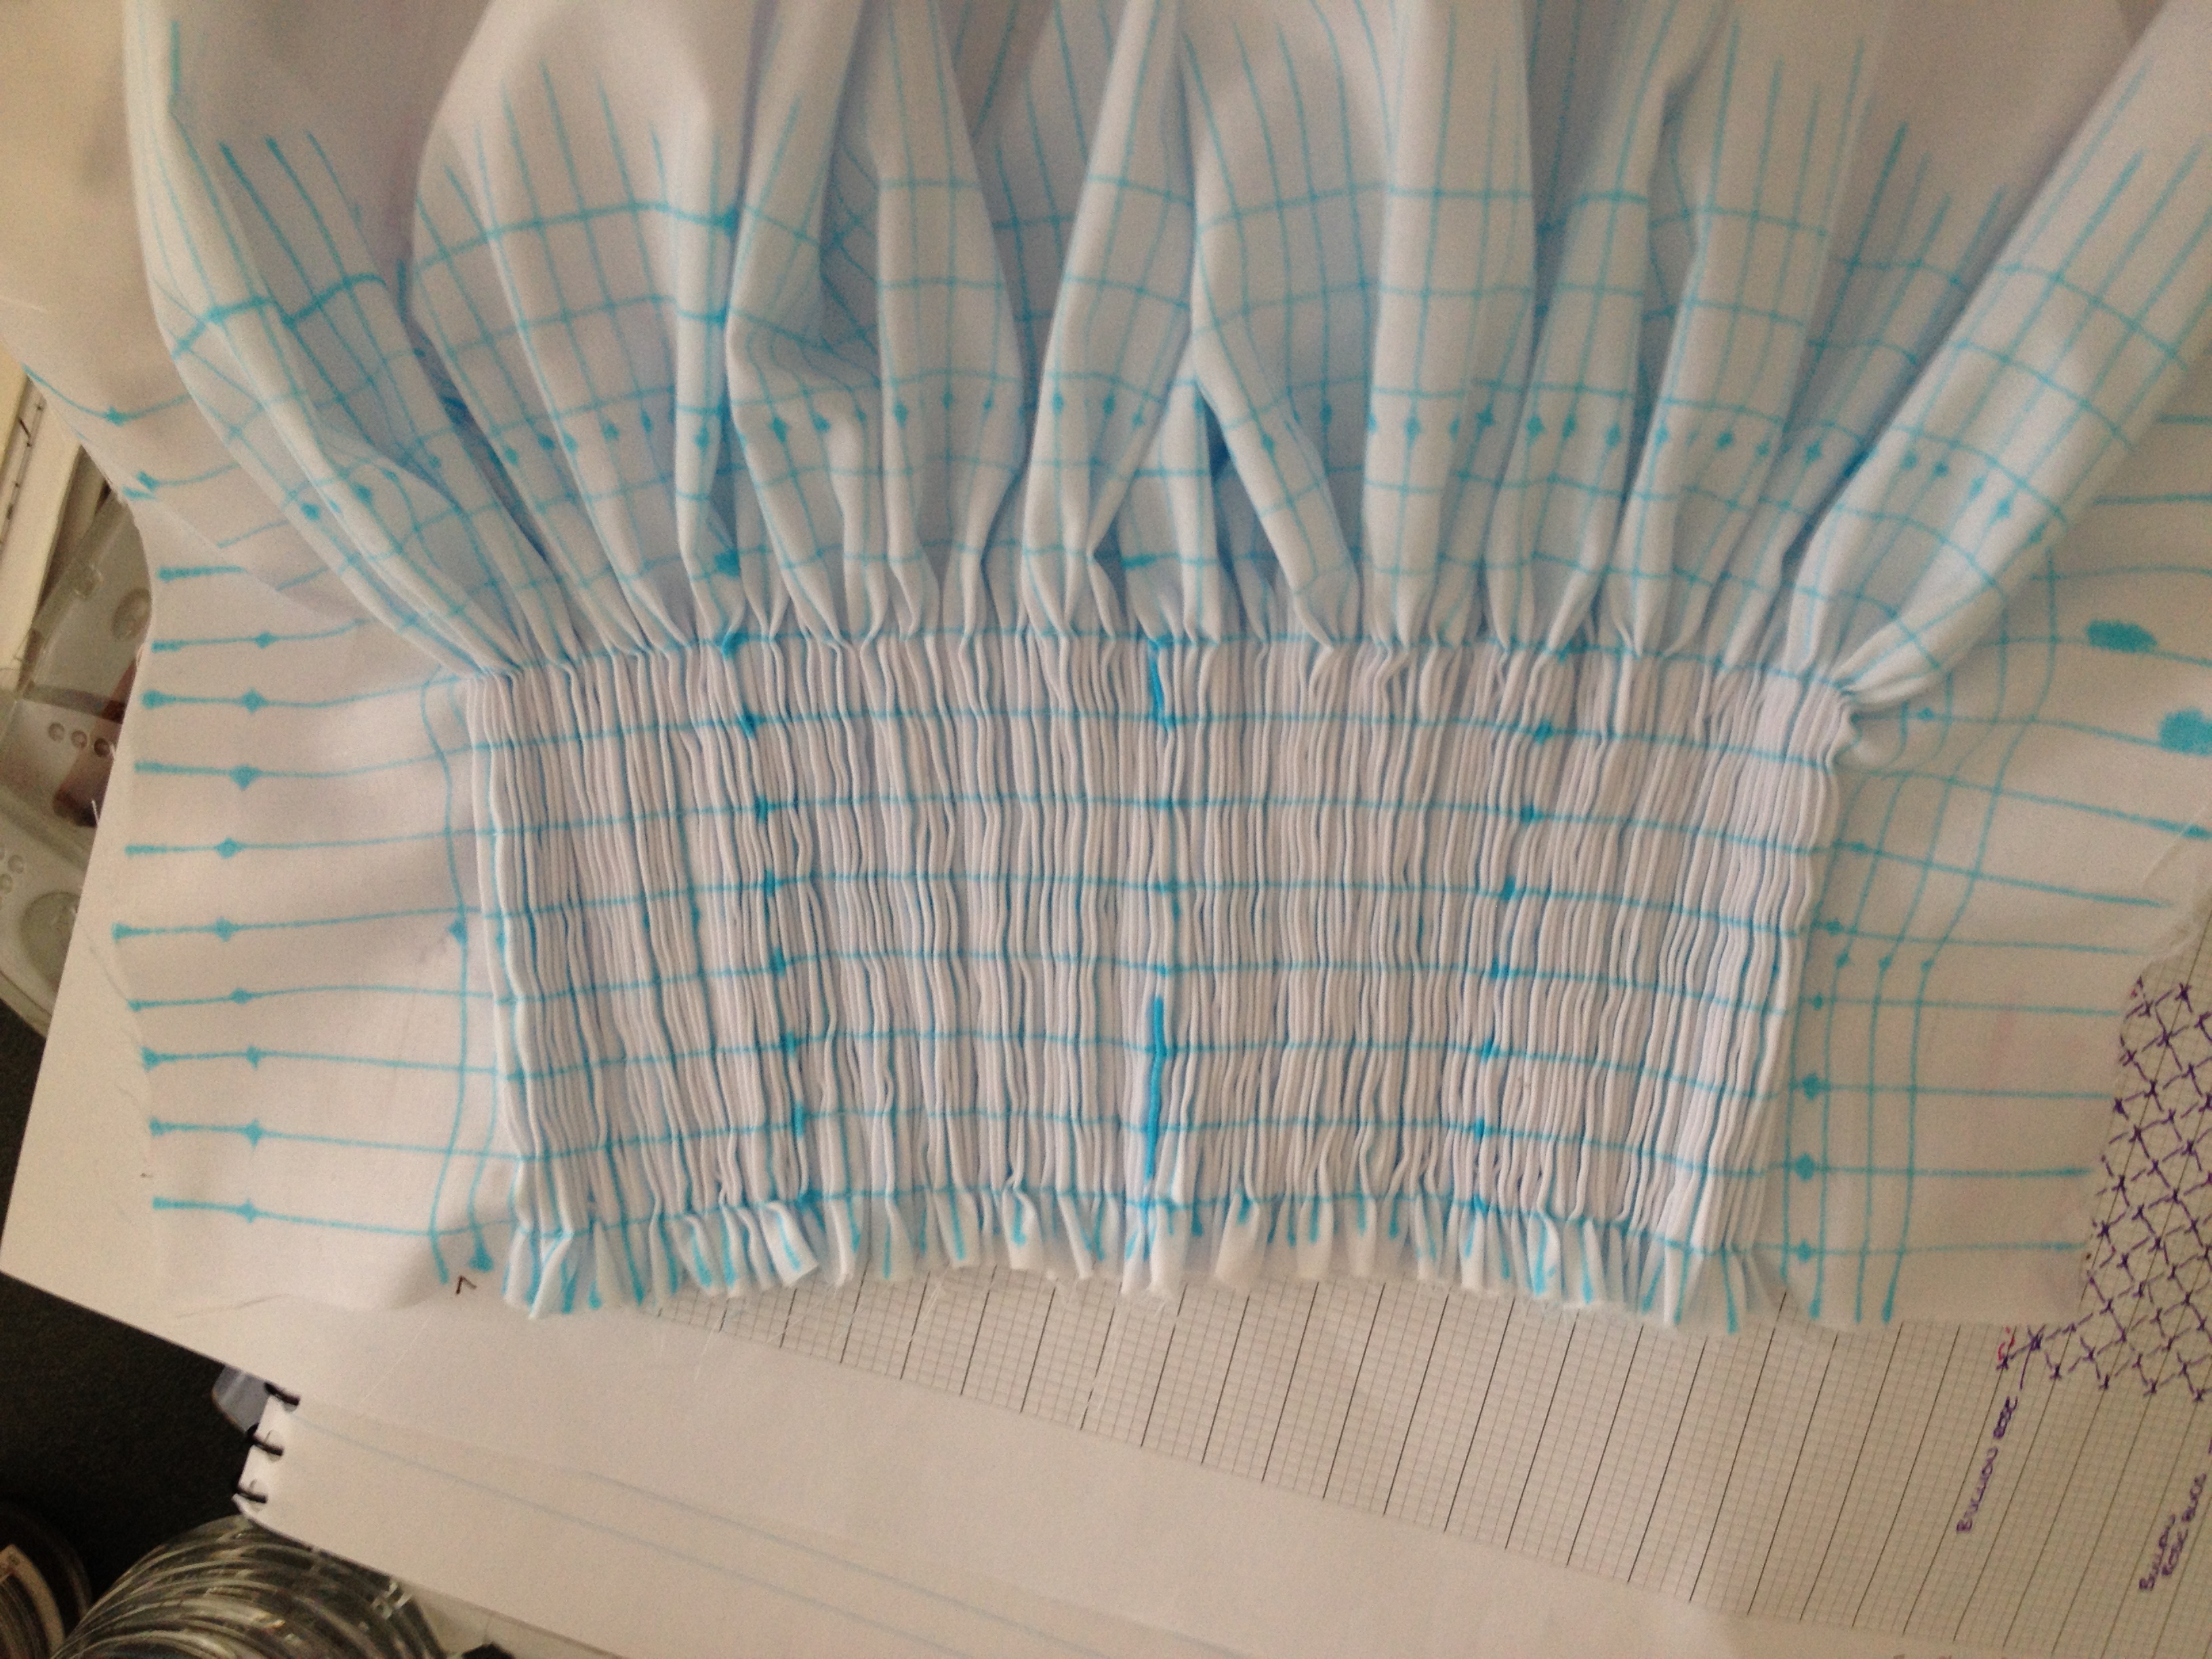
My sewing machine was sticking on the sequins so I ended up placing a piece of greeseproof baking paper over the pieces to try to remove any extra glue from the needle.
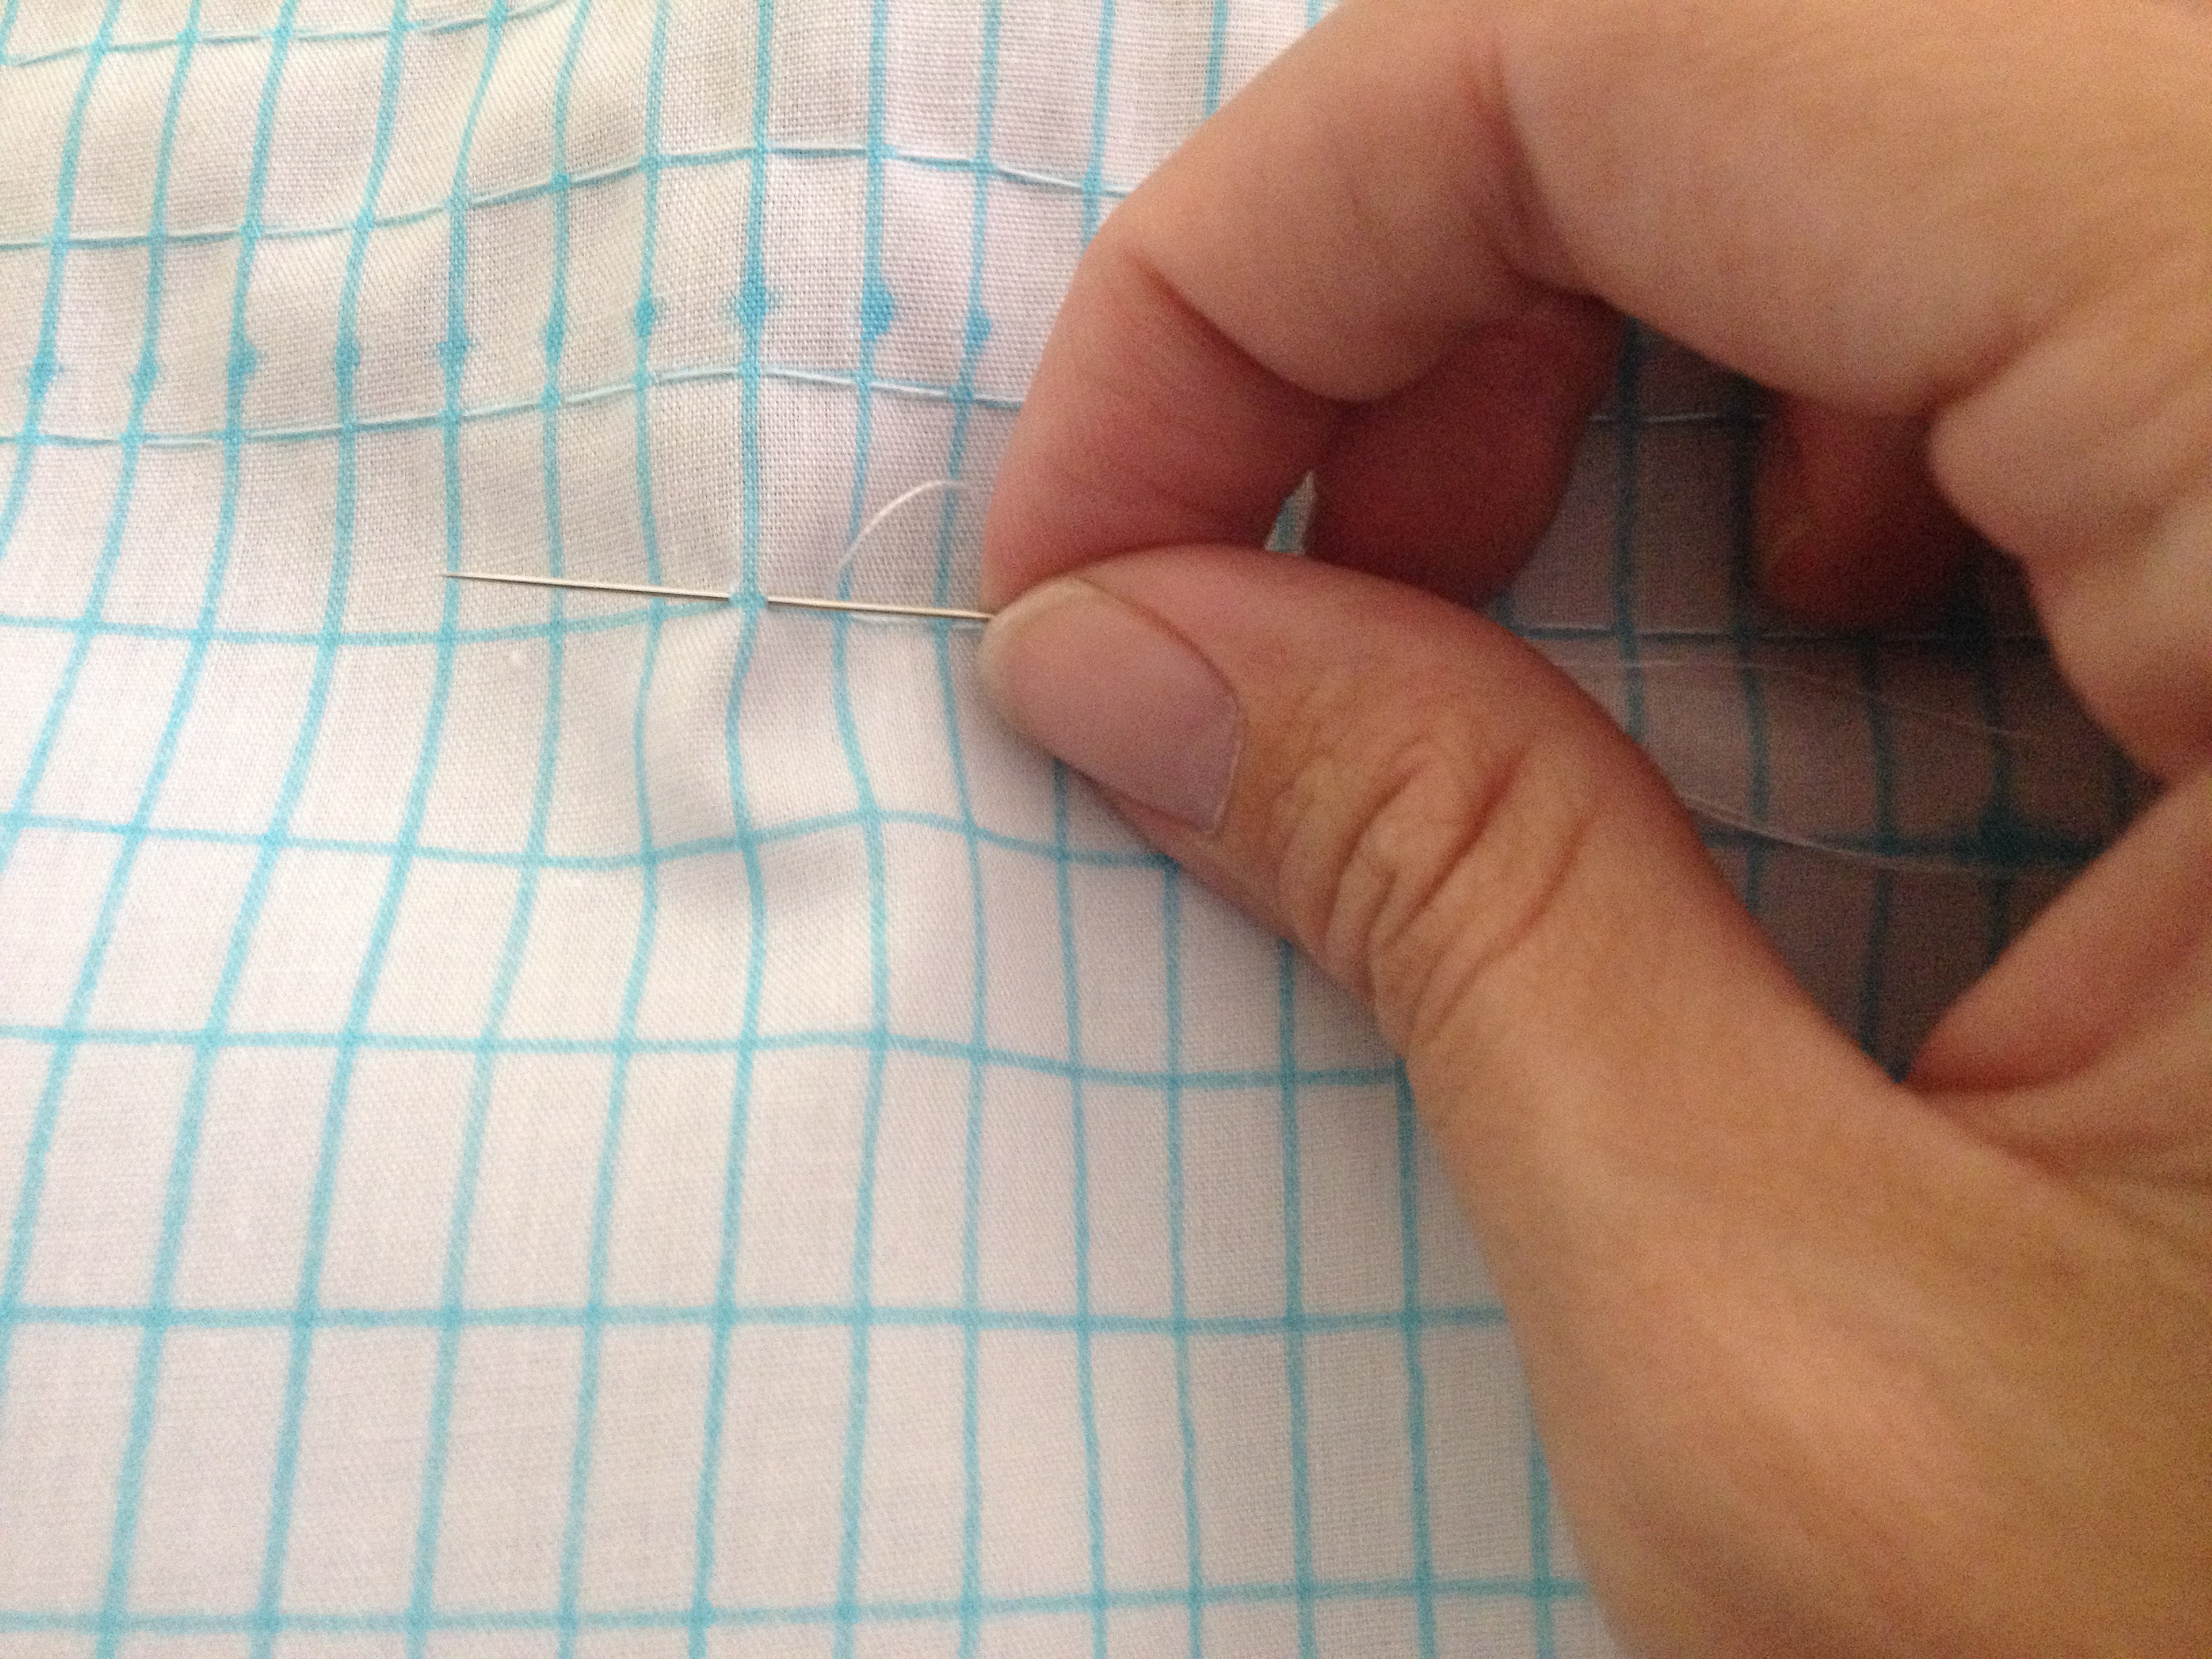
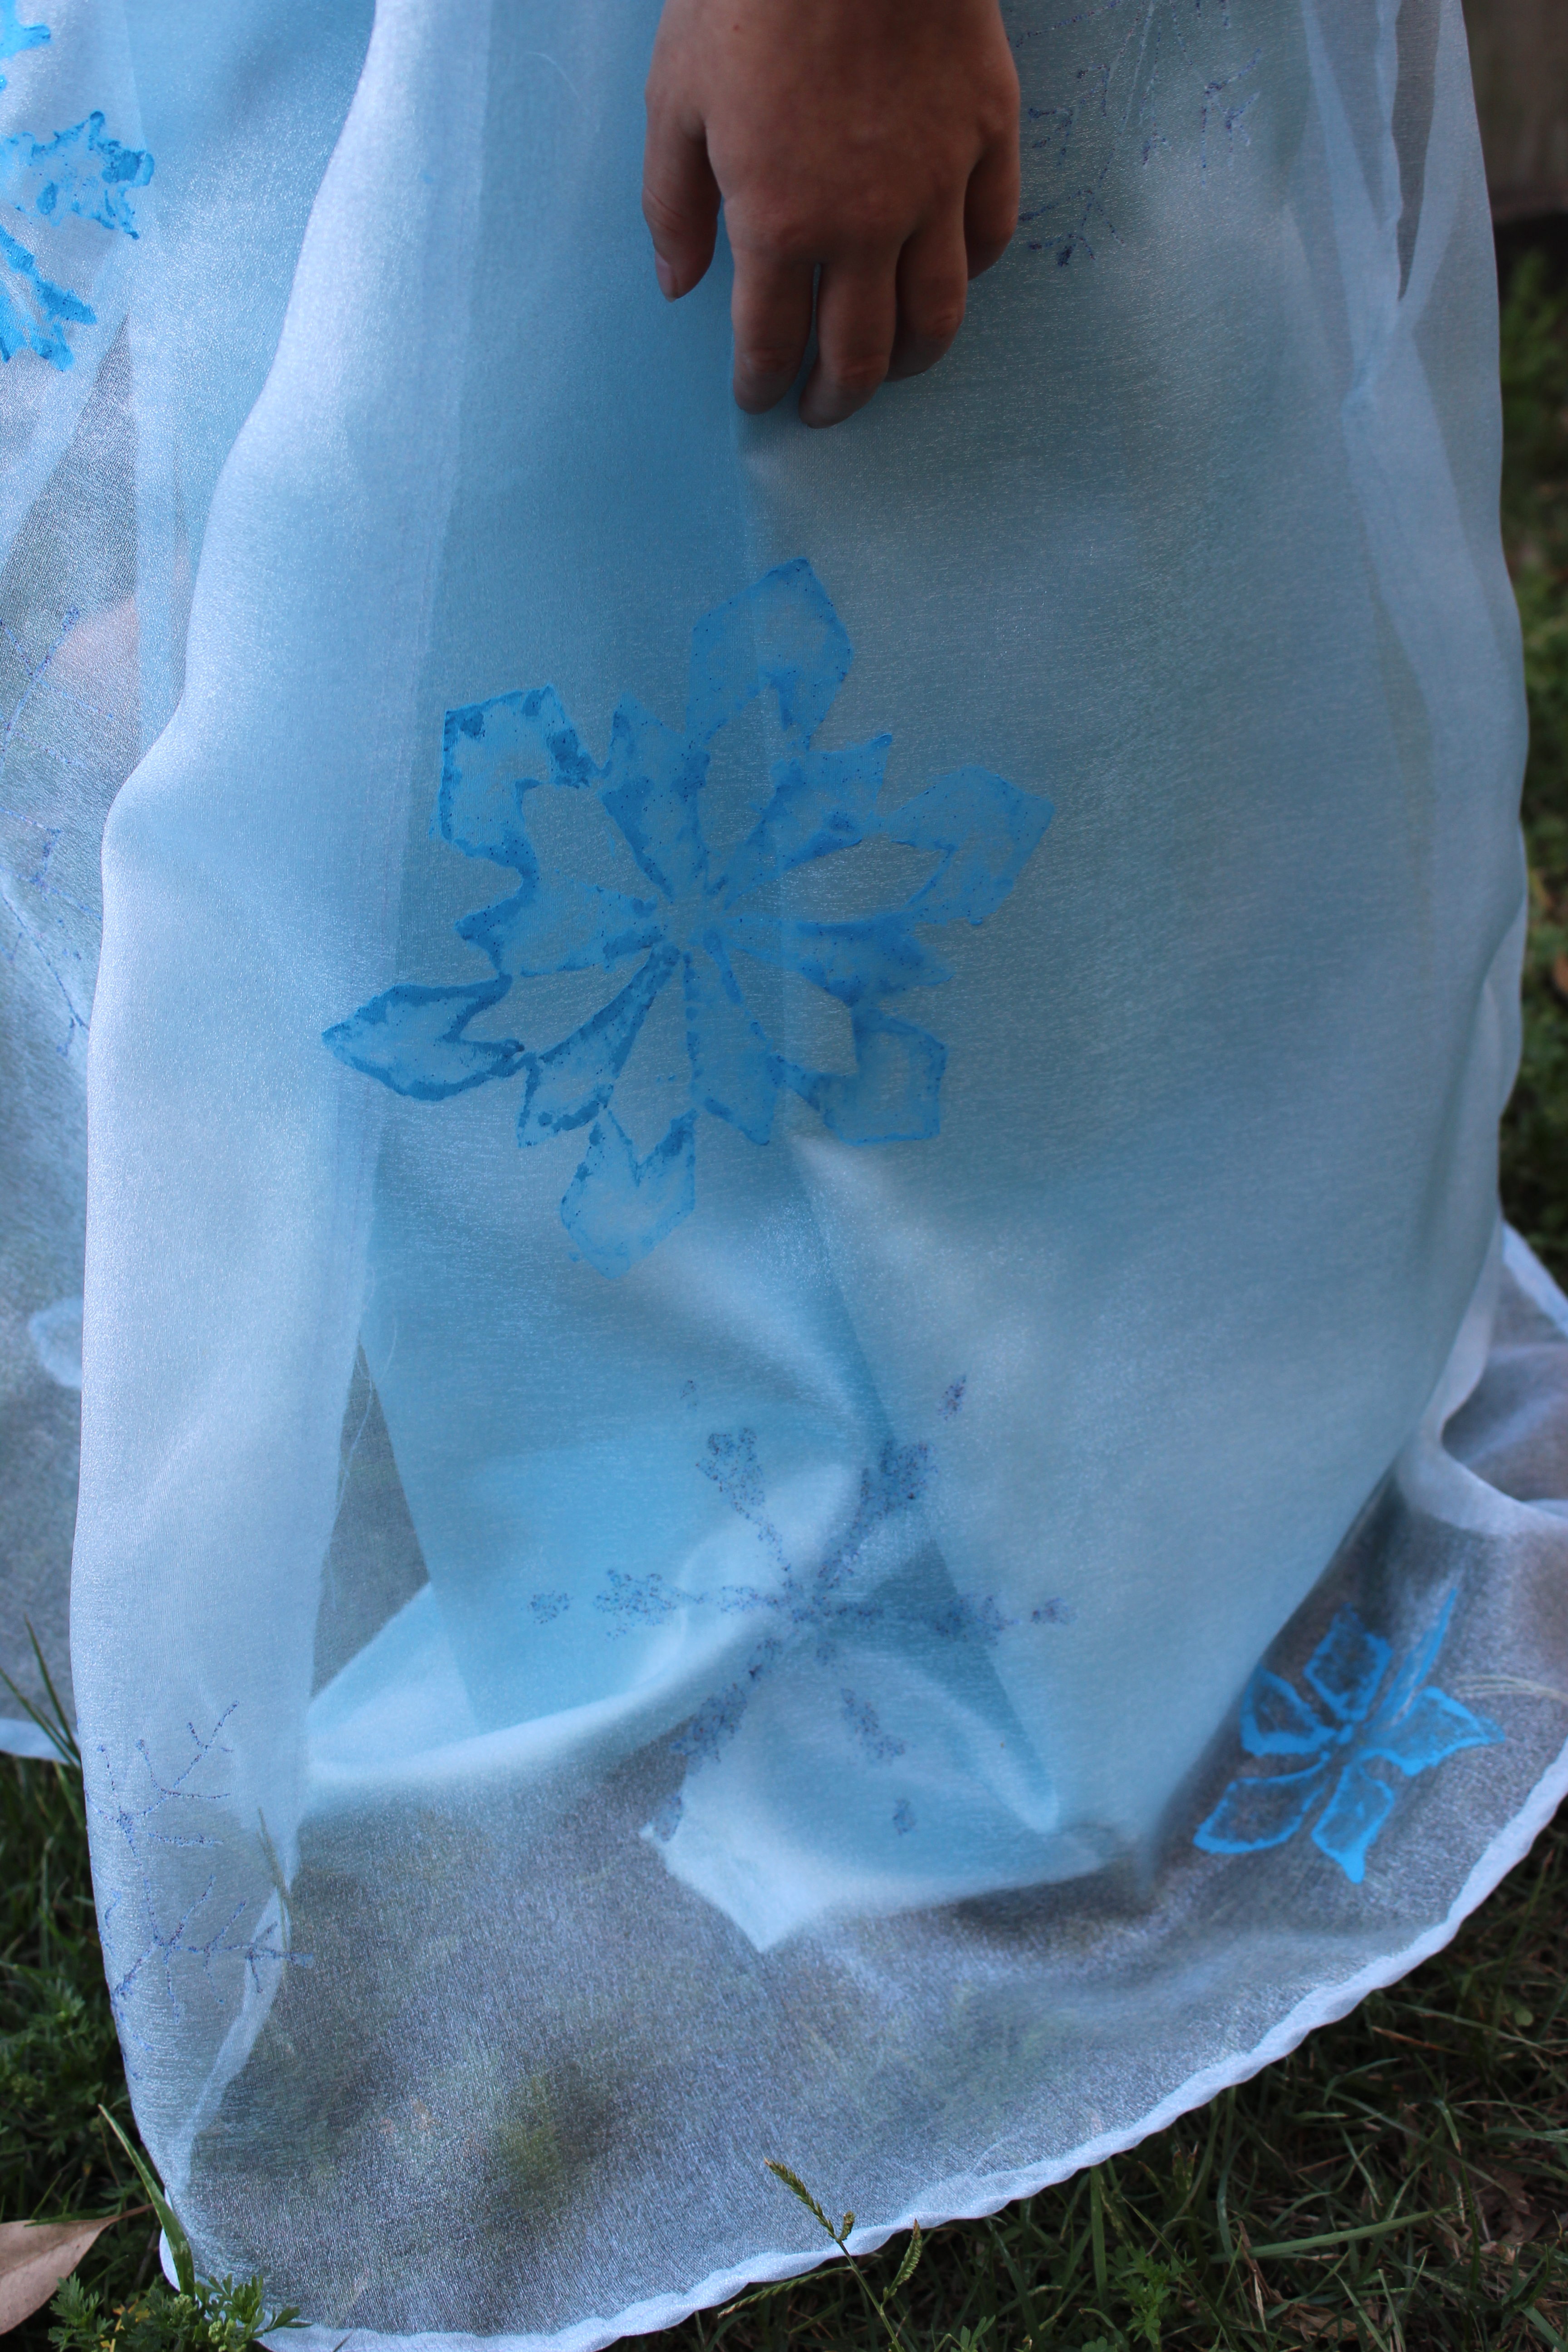
Jess wanted to help with the sewing so she ended up sewing the skirt pieces together and unfortunately she had trouble sewing the organza so I had to see the organza overlay for her. After we had sewn the organza overlay we decided to paint the snowflakes on. We printed several snowflakes shapes from the computer and laid these under the organza also using greaseproof paper as well. Jess then traced over the snowflakes with fabric paint, going around the outside and then using the paintbrush to spread the paint towards the centers.

Frozen McCalls M7000 Elsa snowflakes painting

Frozen McCalls M7000 Elsa Snowflake Painting

Frozen McCalls M7000 Elsa Snowflake Painting

Frozen McCalls M7000 Elsa Snowflake
For the thinner design snowflakes with used the all glitter paint and just did a thin line down the middle and spread it out to a wider width with the paintbrush. We painted the snowflakes on before attaching to the dress. We also didn’t paint the same snowflake twice.

Frozen McCalls M7000 Elsa Snowflake detail

Frozen McCalls M7000 Elsa Snowflake detail
After this Jess was in a creative mood and decided to make a cotton wool snowman while I finished her dress, but while I was trying to help her out with a snowman I accidentally forgot to sew the organza overlay to the bodice before sewing the front yoke on. When I tried to unpick this the organza looked like it was going to fray so I decided to sew the overlay on after. I just added a rolled hem to the top edge and attached this to the bodice after it was all sewn together. But I’m pretty sure no one would notice this.

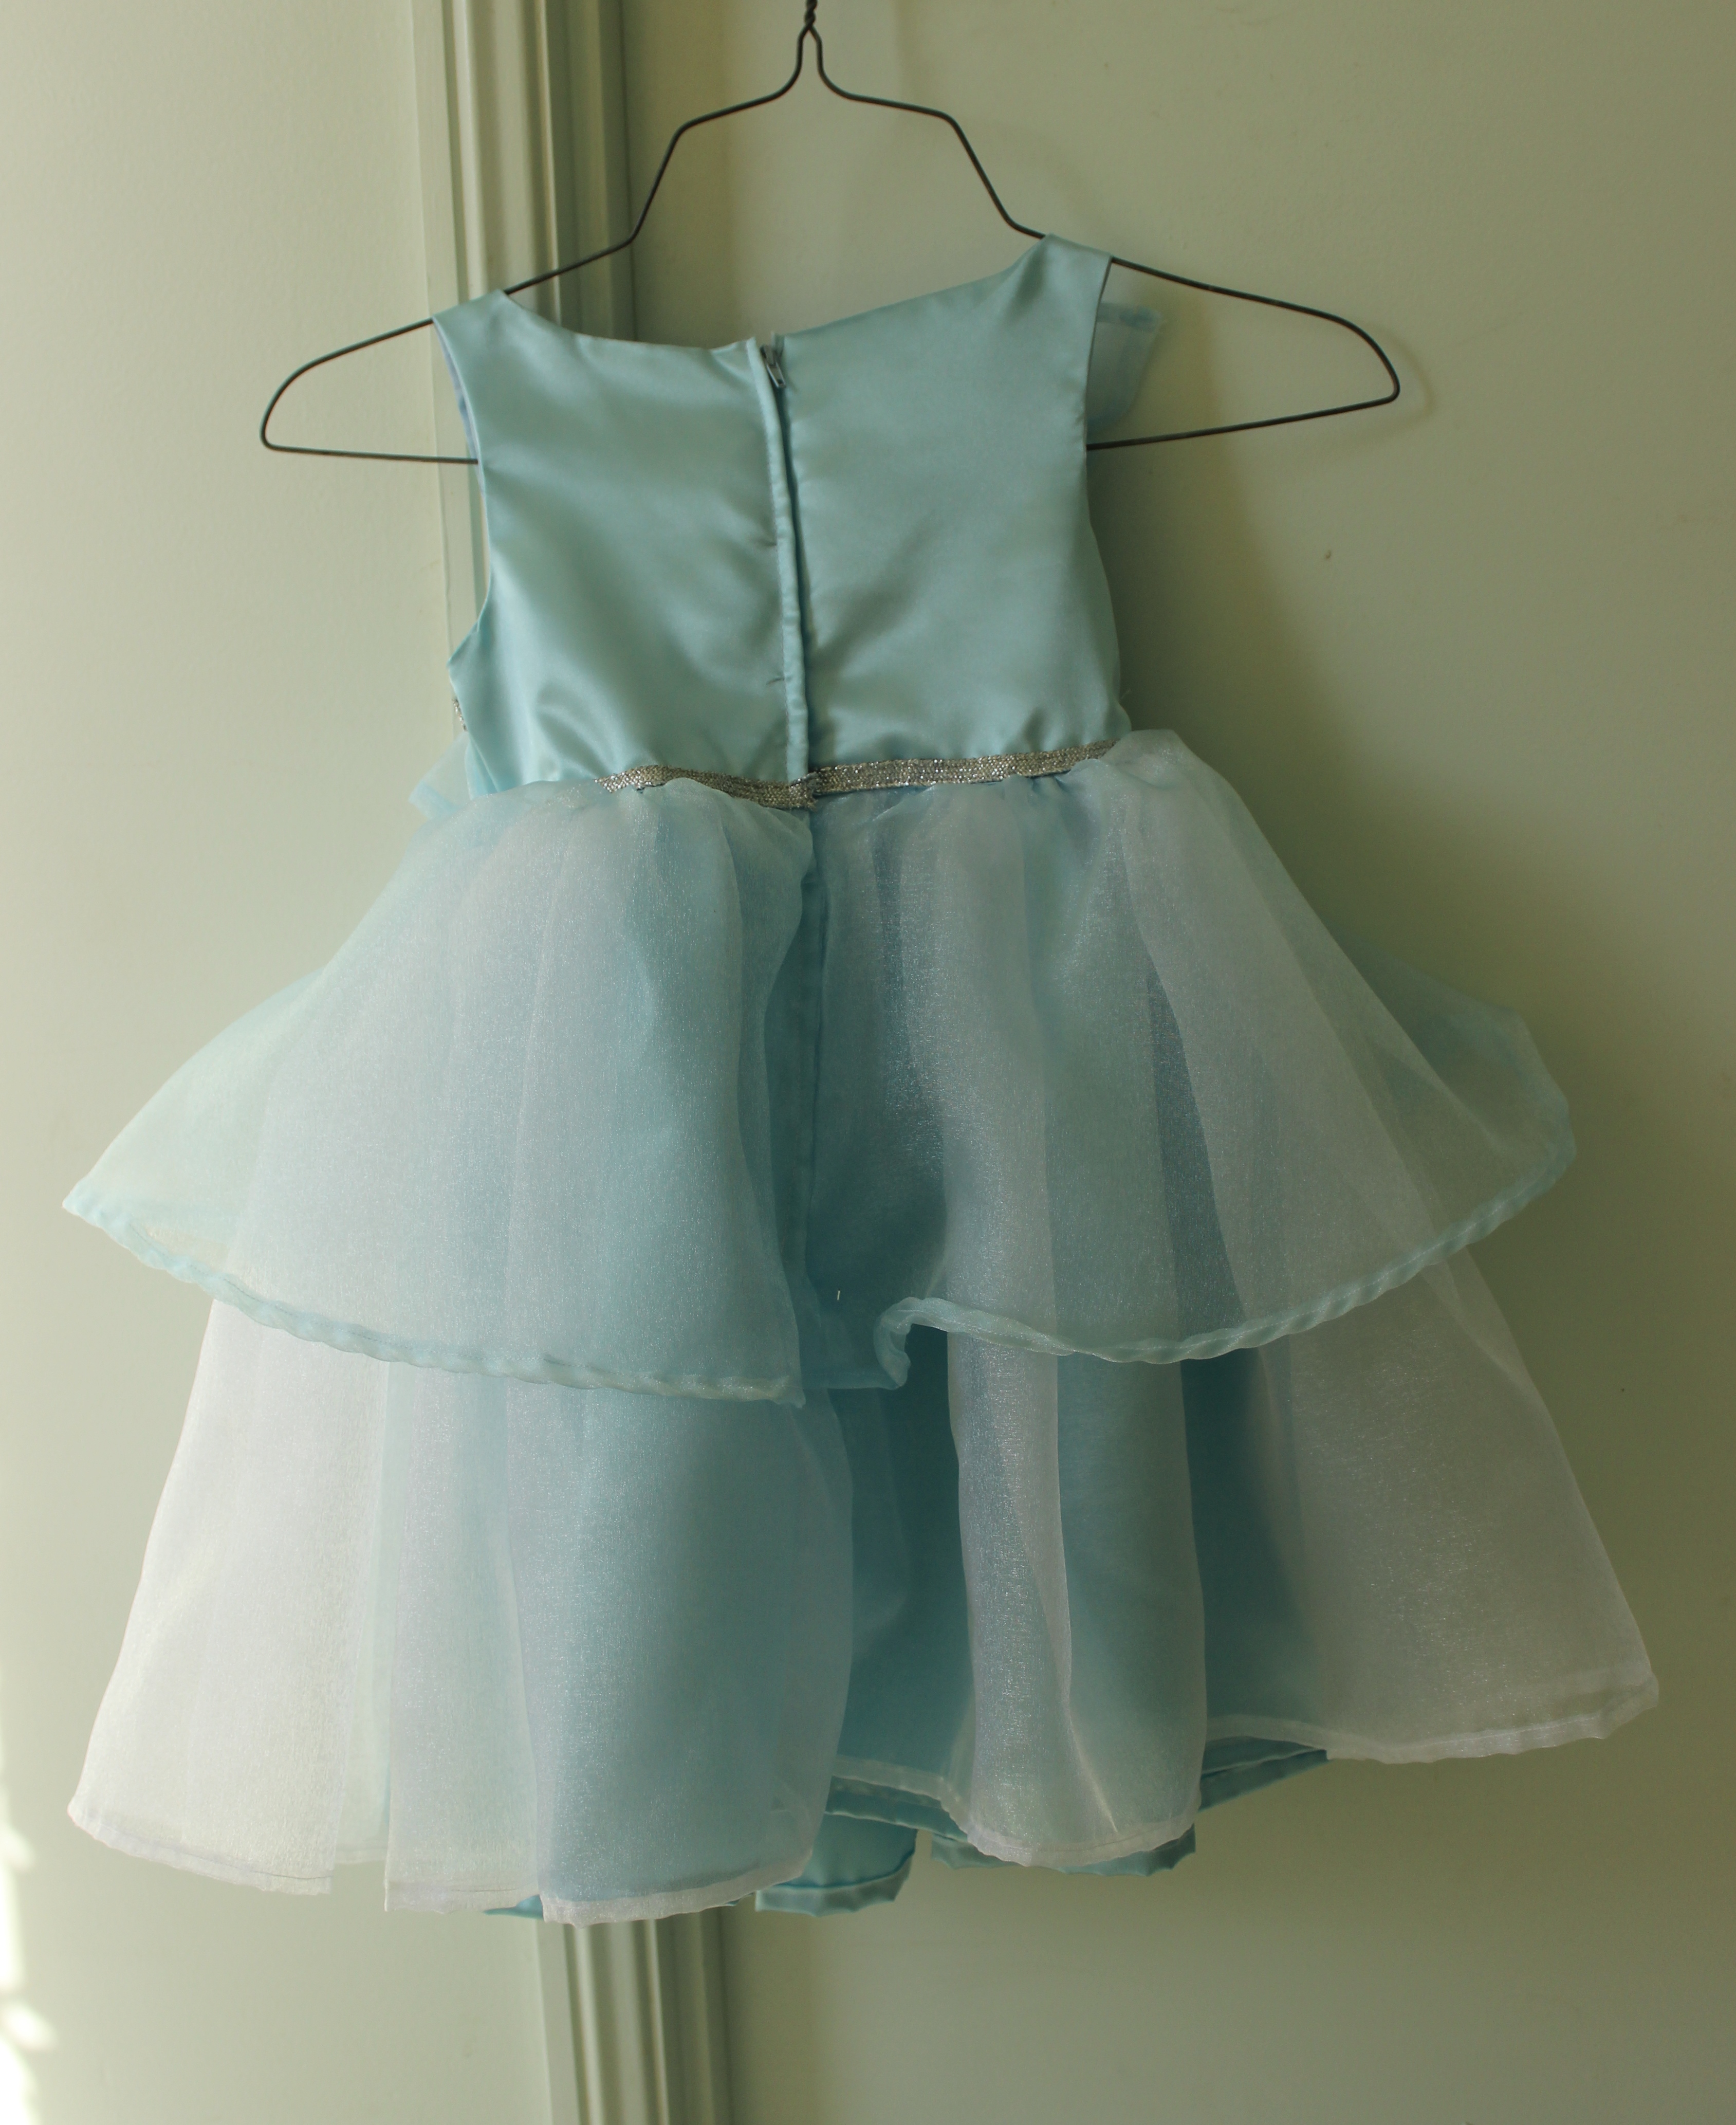
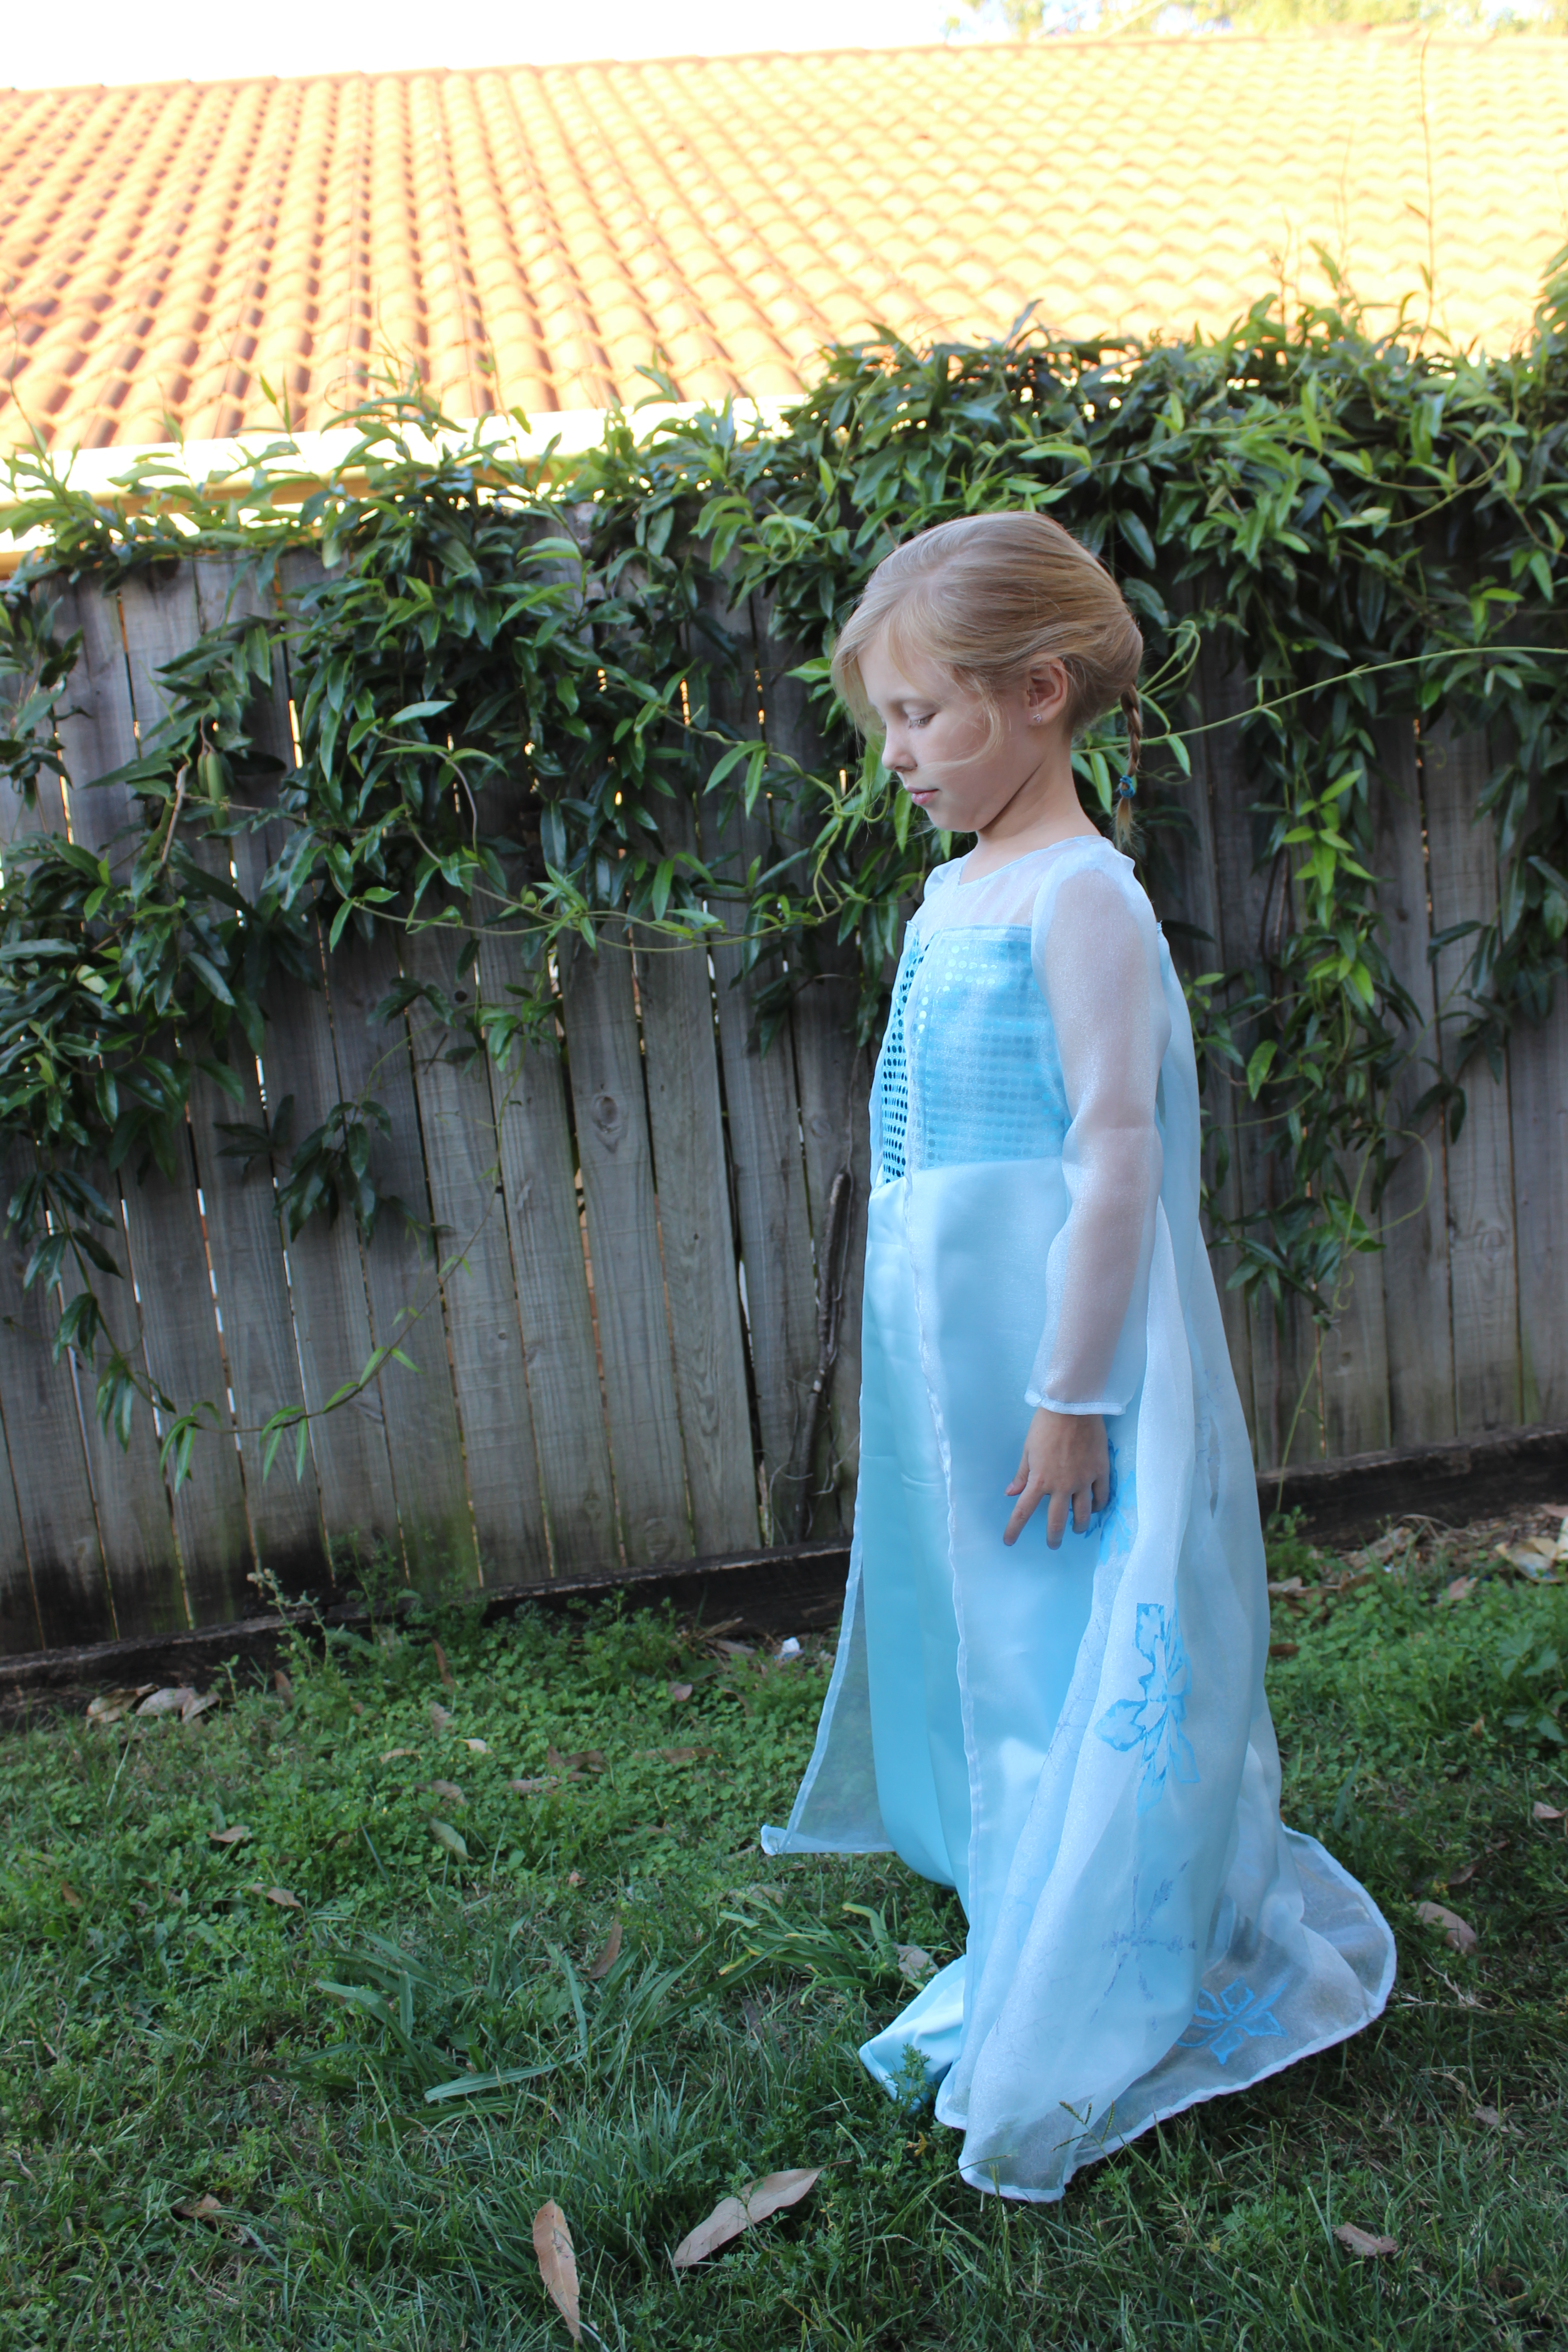
Frozen McCalls M7000 Elsa Back View

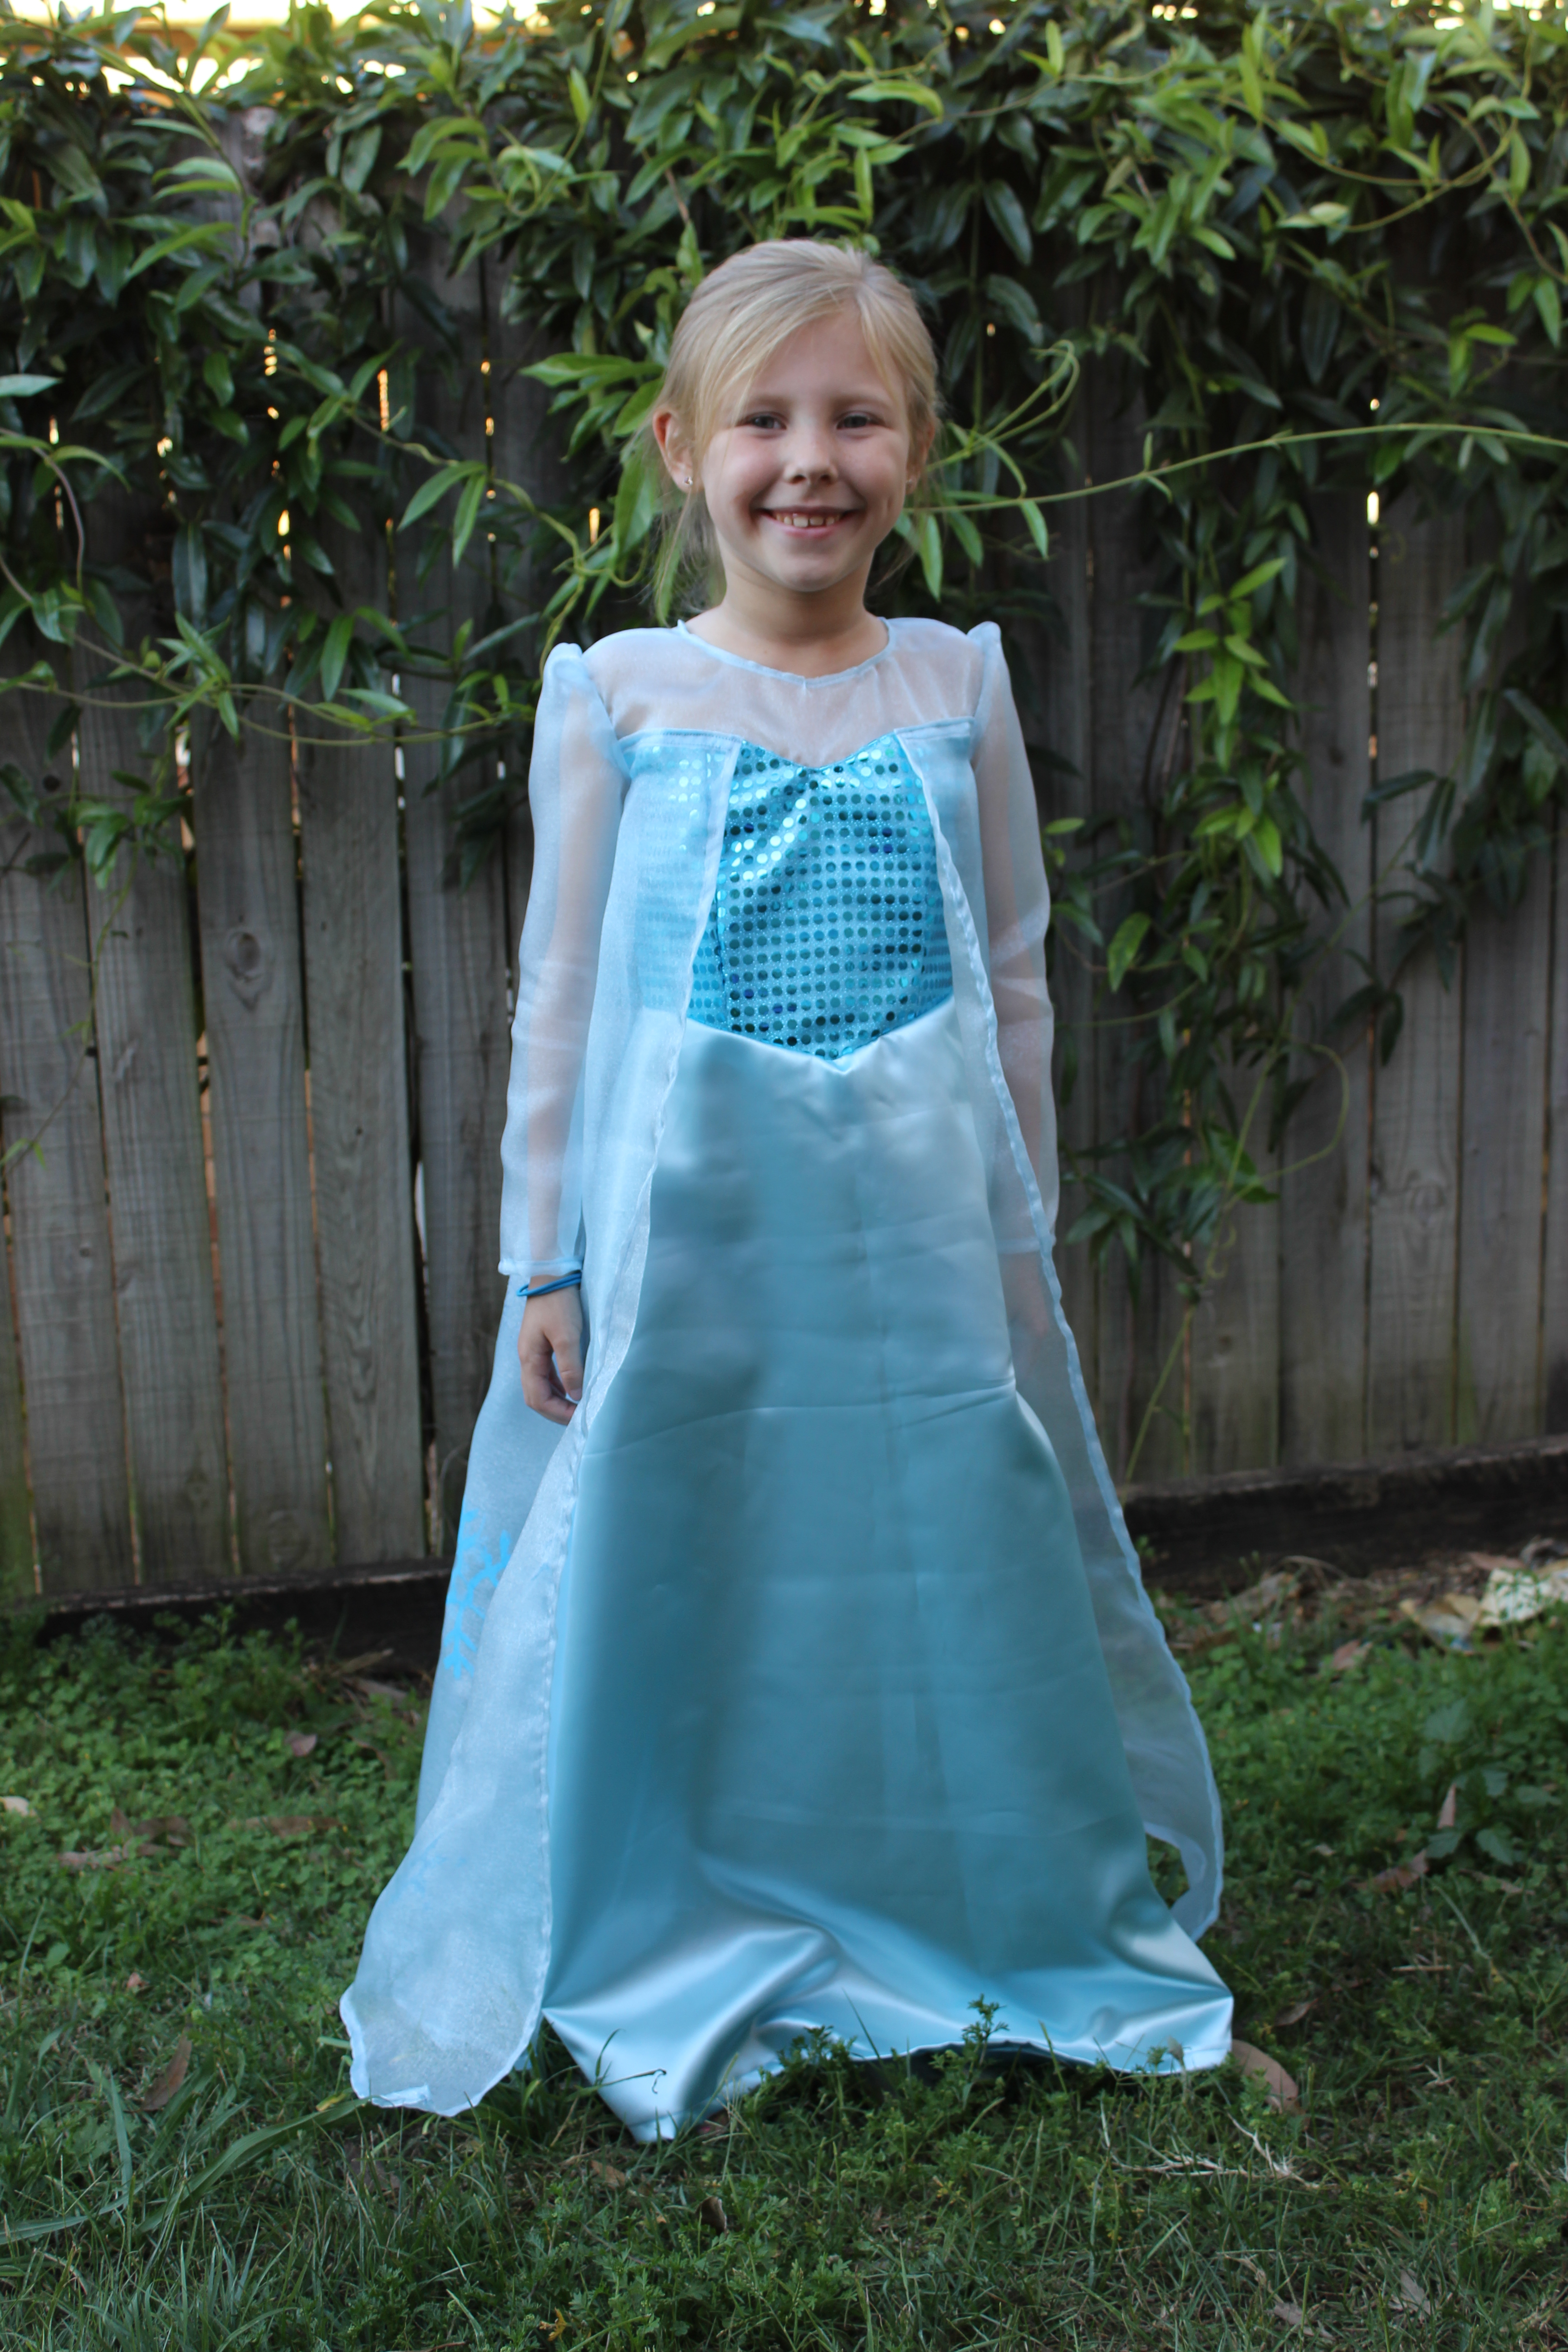
Frozen McCalls M7000 Elsa Front View

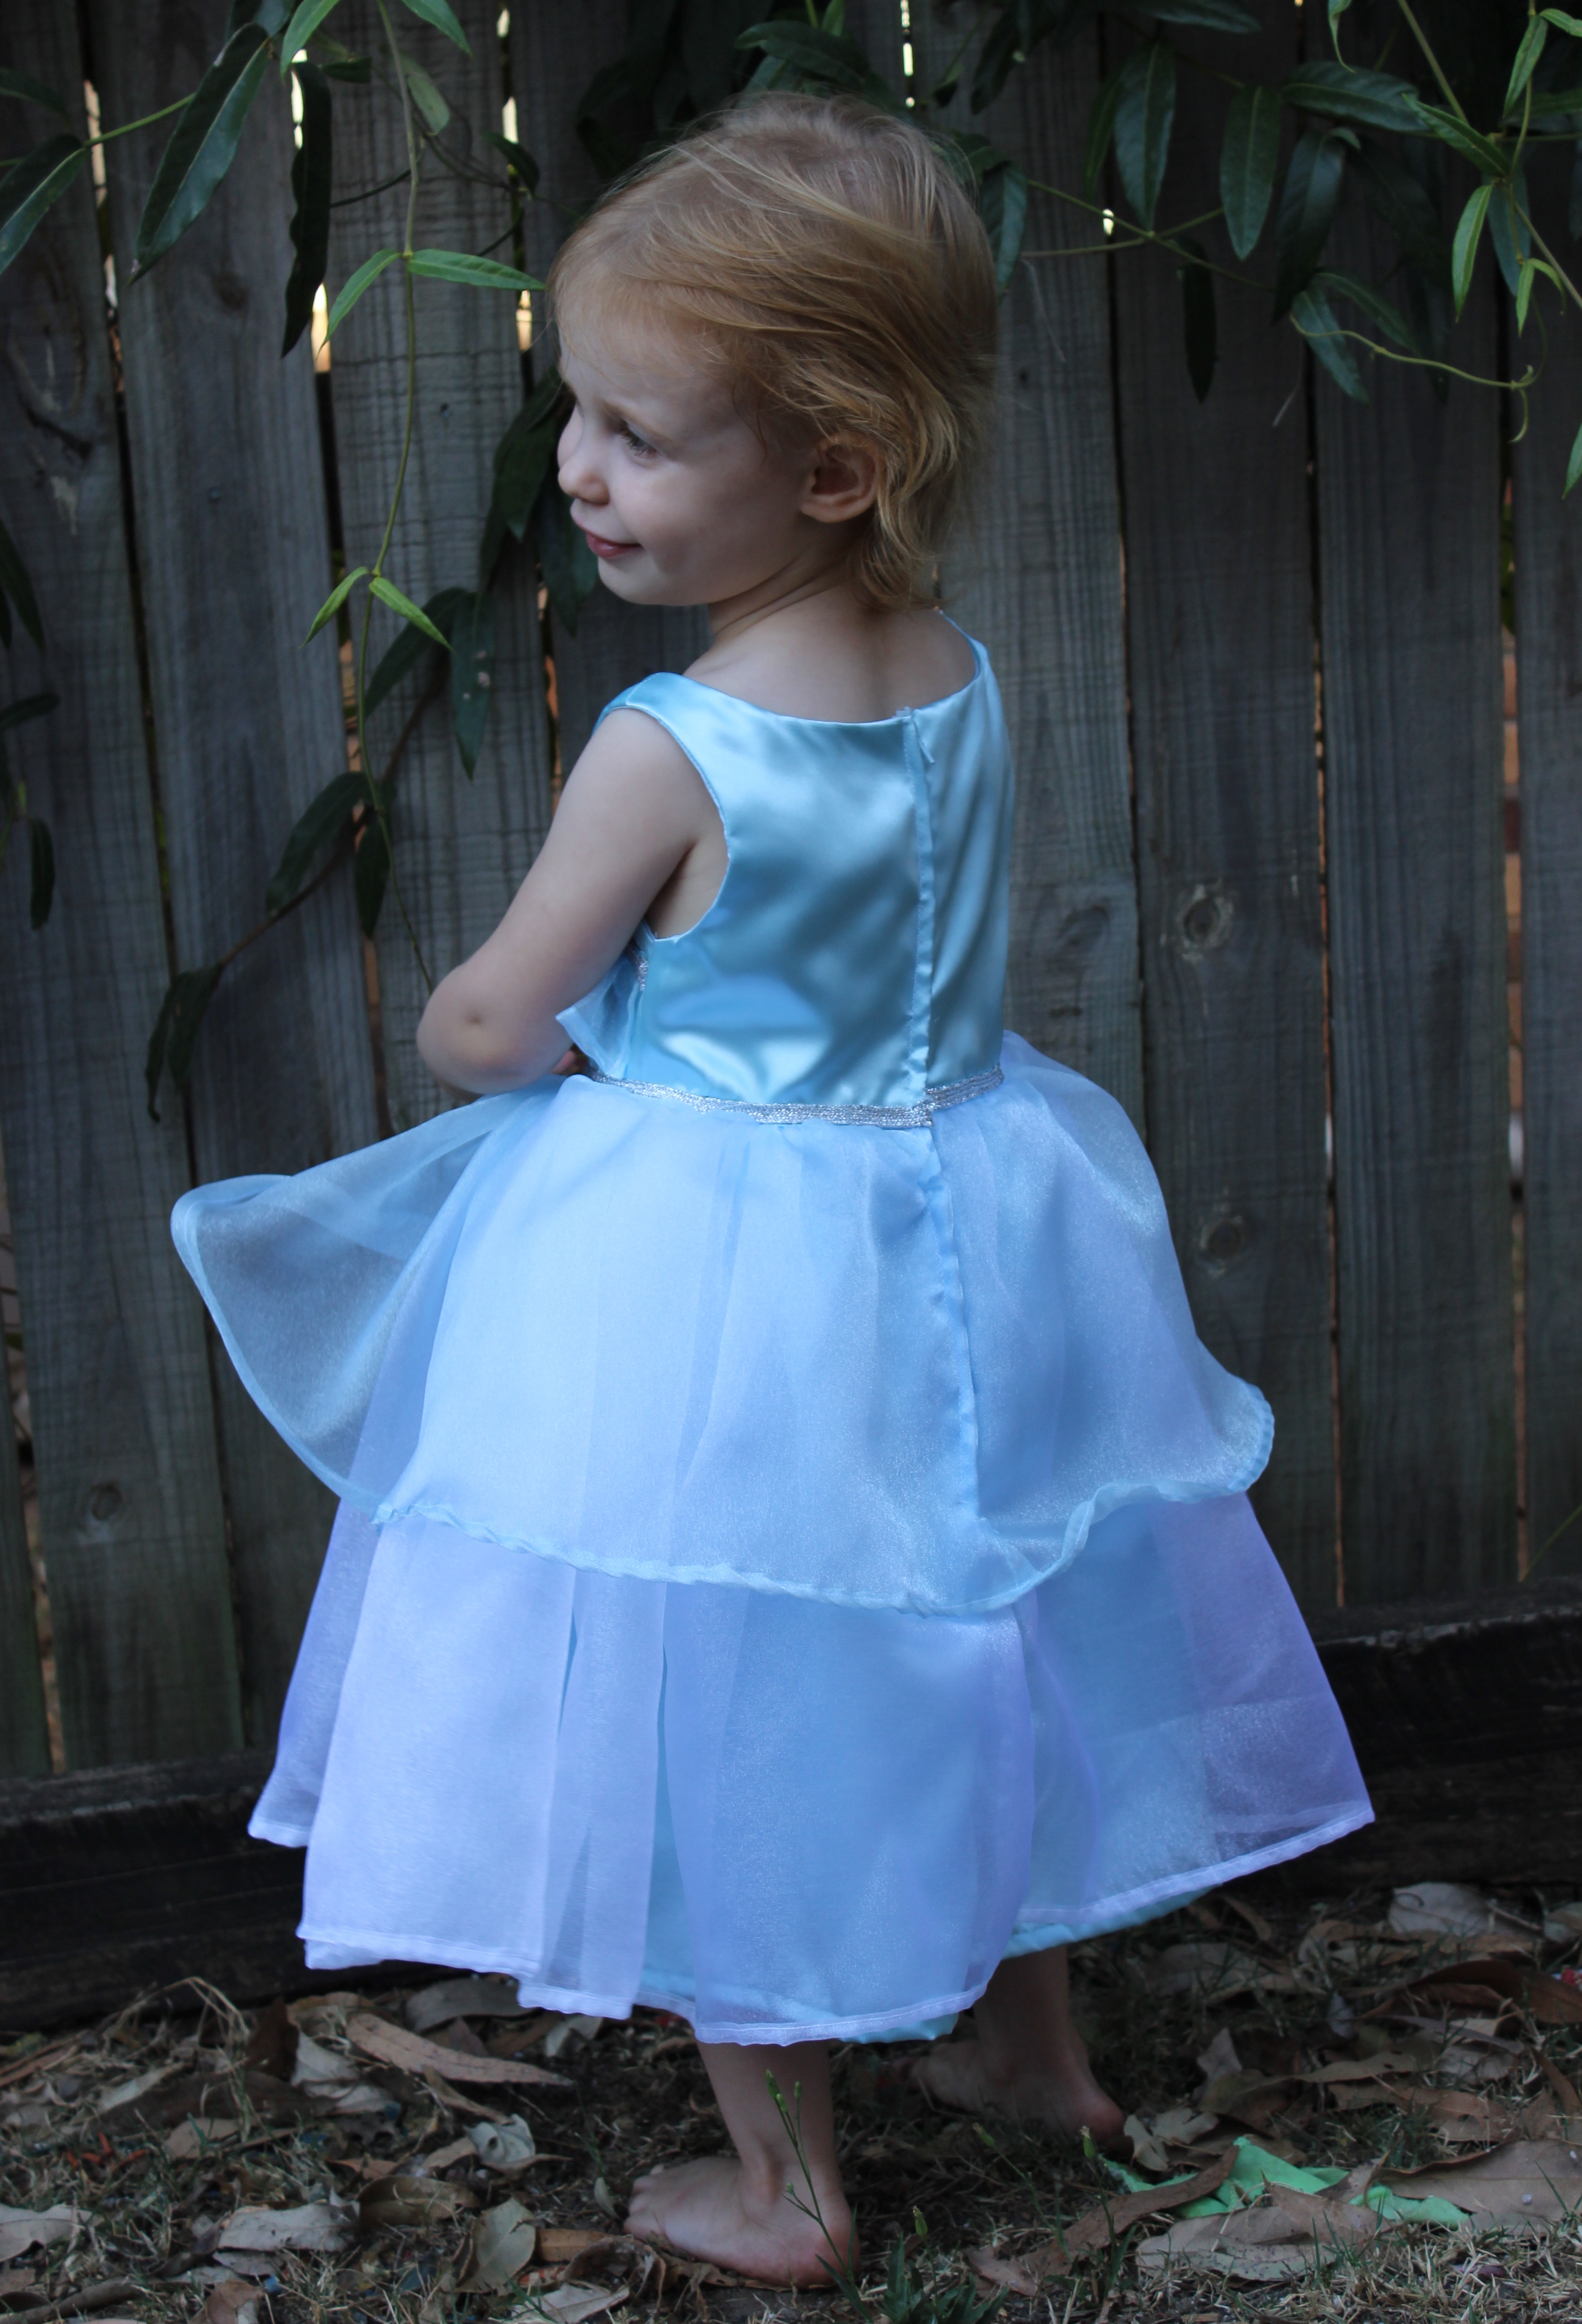
Frozen McCalls M7000 Elsa Side View
After all of this she absolutely loves it and is really happy with it. I have one happy seven year old. This is one pattern that I would definitely be sewing again and I would recommend it.